Tab 7 of 7
Product guide
Questions about a product? Start here. This guide explains what inside and outside mount mean, what the parts at the top of a shade are called (valances, fascias, cassettes), how each product works, and how to measure for it. If anything is still unclear, call or text — we’re happy to talk it through.
Inside, outside or ceiling mount?
Inside mount
Sits inside the window frame
The shade or blind fits within the opening, so the trim stays on show and the look is clean and built-in. Needs enough frame depth for the headrail.
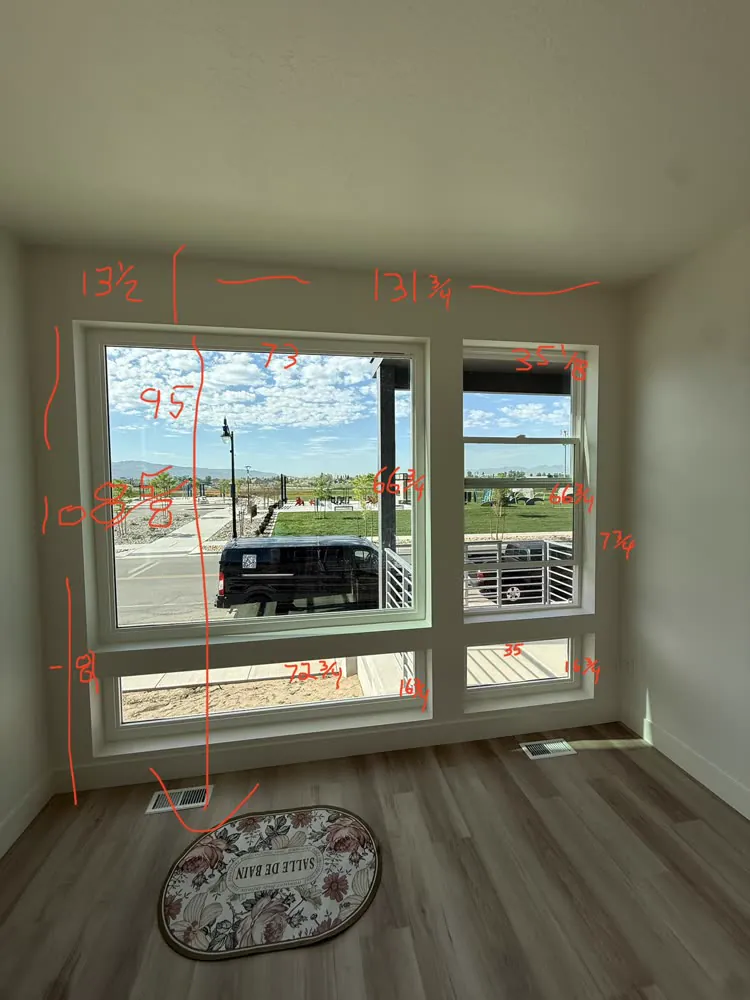
How to measure: measure the opening width at the top, middle and bottom and give us the smallest. Measure the height at the left, middle and right and give us the longest. Give us the exact numbers — we take care of the rest.
Outside mount
Mounts on the wall or trim, over the window
The shade covers the whole opening and overlaps the sides. Best for blocking light and privacy, for shallow frames, or to make a window look bigger.
How to measure: decide how much wall to cover. Measure the full width you want covered (usually the opening plus 1½–3″ on each side) and the height from where the shade will mount down to where it should end. That is the finished size we build.
Ceiling mount
Brackets go up into the ceiling
Used when the window runs right up to the ceiling, for sliding doors, or for drapery and verticals that hang from above.
How to measure: measure the width you want covered and the height from the ceiling to where the shade should end (for drapery, to the floor minus ½″).
Words you’ll see when you order
- Headrail
- The rail at the top that holds the operating parts. On blinds and cellular shades it is the top of the product.
- Valance
- A decorative strip across the front of the top that hides the headrail or roll. Wood blinds and many shades come with one.
- Front valance
- A valance that faces the room. On an Off Back Roman shade, the fabric drops from the back of the board, so a short front valance covers the board.
- Back valance
- A short strip behind the shade, facing the window. On a Waterfall Roman shade it hides the mounting board from outside or from the side.
- Returns
- The short side pieces of a valance or cornice that wrap back to the wall on an outside mount, so you don’t see the hardware from the side.
- Fascia
- A metal or fabric-wrapped cover across the front of a roller shade that hides the roll. Open at the back.
- Cassette
- A closed box around the roller, front, top and back. The neatest look and the least light over the top.
- Open roll / reverse roll
- On a roller with no cover, the fabric roll shows. Standard roll drops behind the tube, close to the glass; reverse roll drops in front, which clears handles and cranks.
- Side channels
- Tracks down both sides of the window that the shade edges run in. They close the side gaps for the darkest room.
- Stack
- How much space a raised shade, blind or open drape takes up. Taller windows mean a bigger stack at the top; drapes and verticals stack to the side.
- Projection
- How far the product sticks out from the wall or frame. Matters for inside-mount depth and for clearing handles.
- Hold downs
- Small brackets or magnets at the bottom that keep a shade on a door from swinging.
Product by product
Tap a product to see how it works, what goes on top, and how to measure for it.
Roller shadesBasic Roller
How it works
One flat panel of fabric rolls up onto a tube at the top. Pull the chain (or press a button if motorized) and it rolls down smooth and flat. Solar screen keeps your view and cuts glare; blackout darkens the room.
On top
Open roll — the roll shows, clean and minimal. Metal fascia — a cover across the front that hides the roll. Standard or reverse roll (fabric drops in front of the tube to clear handles).
Inside mount
Measure the opening width top, middle and bottom (smallest) and the height left, middle and right (longest). Needs room in the frame for the roll. Expect about ¾″ of light down each side.
Outside mount
Add about 1½–3″ each side to cover the light gaps. Measure height from where the brackets go to where the shade should end.
Roller shades · NormanSoluna Roller
How it works
Norman’s premium roller, with hundreds of fabrics from see-through screens to blackout. Lift by cordless push, cord loop, metal chain or motor. Wide windows can be coupled — two to four shades in a row sharing one operator (not on doors).
On top
Open roll, a fascia/valance (curved or square, metal or fabric-wrapped), a closed cassette, or Full Blackout Side Channels that seal the sides for the darkest room. Doors get magnetic hold downs.
Inside mount
Needs at least 2¾″ of frame depth. Give the exact opening. Expect about ¾″ of light down each side unless you add side channels.
Outside mount
Add 1½–3″ each side for overlap. A fascia or cassette gives the cleanest look from the room. Side channels need outside mount on a door.
Cellular · NormanPortrait Cellular
How it works
Honeycomb-shaped cells trap air, so these insulate best and quiet a room. They raise and lower into a slim stack. Top-down/bottom-up lowers from the top for privacy with light; Day & Night puts a light and a blackout shade on one headrail.
On top
No valance needed — the slim headrail is the top. Two shades can share one headrail across a wide window.
Inside mount
Fits shallow frames. Give the exact opening; a thin gap at each side is normal.
Outside mount
Add about 1½″ each side and a little at the top for better light control.
Wood blinds · NormanFaux Wood Blinds
How it works
Horizontal slats that tilt open and closed with a wand and lift cordlessly. Moisture-proof composite, so they suit kitchens, baths and sunny rooms.
On top
A valance across the front hides the headrail (Linear, Modern Curved or Designer Crown), matched to the slat colour. On outside mount the valance has returns back to the wall.
Inside mount
Give the exact opening. The standard brackets mount to the top of the frame; optional side-mount brackets fix to the sides of the frame.
Outside mount
Add about 1½–3″ to the width and height. The standard brackets mount to the wall or the ceiling.
Wood blinds · NormanReal Wood Blinds
How it works
The same lift and tilt as faux wood, in natural hardwood: lighter, so big blinds are easier to raise, with rich stains. Best in dry rooms.
On top
Valance in the same colour as the slats (or no valance). Returns on outside mount.
Inside mount
Give the exact opening. Standard brackets mount to the top of the frame.
Outside mount
Add about 1½″ each side. Standard brackets mount to the wall or the ceiling.
BlindsAluminum (Mini) Blinds
How it works
Slim 1″ metal slats that tilt with a wand and lift cordlessly. Durable, easy to clean and budget friendly. Norman City Lights, 1″ or 2″ slats.
On top
A slim headrail; no separate valance.
Inside mount
Fits shallow frames. Give the exact opening.
Outside mount
Add about 1½″ each side.
VerticalsVertical Blinds
How it works
Vanes hang from a track and turn to open or close, then draw to one side or split in the middle. The classic choice for sliding doors.
On top
Norman Synchrony is valance-free — the clean headrail is the top — and stacks one way: tell us left or right. Oversized Wallace verticals can also split, center stack or open off-center.
Inside mount
Needs about 3¾″ of frame depth. Give the exact opening.
Outside mount
Add about 1½″ each side. Measure height from the mounting point to about ½″ above the floor. Can mount on the wall or the ceiling.
Sheer shades · NormanPerfectSheer & SmartDrape
How it works
PerfectSheer: soft fabric vanes between two sheers — tilt for privacy, open for a soft view, raise to clear the window. SmartDrape: a fabric vertical that stacks neatly to the side, made for sliders and wide windows.
On top
PerfectSheer: headrail with an optional fabric valance. SmartDrape: a track, outside mount only.
Inside mount
PerfectSheer: give the exact opening. SmartDrape: not available inside mount.
Outside mount
Measure the width you want covered plus room for the shade to stack beside a slider. Custom quote — send sizes and photos.
NaturalWoven Wood Shades
How it works
Bamboo, grasses and reeds woven into a textured shade that lifts into folds. Add a privacy or blackout liner behind it. Styles include flat fold, waterfall (soft cascading folds) and hobbled.
On top
A matching fabric valance across the top; returns on outside mount.
Inside mount
Give the exact opening. Some light comes through the weave and at the sides.
Outside mount
Add about 1½–3″ each side for coverage.
OutdoorExterior Roller Shades
How it works
Solar-screen roller shades for patios and pergolas that block heat and glare while keeping the view. Zipper track holds the fabric edge in a track; cables guide the bottom bar in the wind.
On top
A closed cassette headrail is standard, to protect the fabric outside.
Inside mount
Between posts or walls: measure the exact opening. With zipper track, measure exactly; the shade is built to the size you enter.
Outside mount
Without tracks, add 2–4″ each side. Any size — custom quote, send photos.
ShuttersShutters
How it works
Solid panels with tilting louvers, hinged in a frame so they swing open. Built to the fraction for each window.
On top
No valance. A frame around the panels finishes the opening; the frame style depends on your trim.
Inside mount
Measure 3 widths and 3 heights (see the Shutters tab). Needs some frame depth for the louvers to tilt.
Outside mount
The frame mounts on the trim or wall around the window. We strongly recommend we measure shutters.
Soft treatmentsDrapery & Sheers
How it works
Fabric panels hung from a rod or track that open to the sides. The heading (ripple fold, pinch, goblet, barrel, grommet or rod pocket) sets the look. Lining adds body and blocks light; sheers are always unlined at 3× fullness.
On top
The rod or track is the top; you can add a valance or cornice over it.
Inside mount
Rarely used. A tension or sash rod inside the frame suits café curtains and doors.
Outside mount
Measure the rod width, not the window — usually the window plus 8–12″ each side for the drapes to stack. Measure length from the rod to the floor (minus ½″). See the Drapery Guide tab.
Soft treatmentsRoman Shades
How it works
A fabric shade that lifts into soft folds. Flat is smooth when down, relaxed has a gentle curve at the hem, permanently pleated keeps its folds. It is built on a wooden mounting board.
On top
Waterfall: the fabric wraps over the front of the board and falls straight down, so the board is hidden. A back valance can hide the board from behind. Off Back: the fabric drops from the back of the board, closer to the glass; a front valance covers the board.
Inside mount
Needs at least 2¾″ of frame depth. Give the exact opening.
Outside mount
Add about 1½–3″ each side, and mount 2–4″ above the frame so the folded stack sits above the glass.
Soft treatmentsCornices & Valances
How it works
A cornice is a padded, fabric-covered board across the top of the window: a face, a top and returns at each side back to the wall. A valance is a soft fabric top on a rod or Velcro — a face only. Both finish off drapes or shades.
On top
They are the top treatment. Choose the face, top and returns for a cornice.
Inside mount
Not used inside the frame.
Outside mount
Measure the width of whatever hangs underneath (shade or drapery rod) and add 2–4″ so it clears it. The returns must reach past that hardware. Height plus return up to 40″.
Inside-mount deductions & side gaps
For an inside mount, the factory makes the product a little narrower than your opening so it can move without rubbing the frame. You always give us the exact opening; the deduction is taken for you. Outside mount is built to the size you order, with no deduction. The amounts below are the standard for each product.
⚠️
Roller shades: expect about ¾″ of light down each side
This is the most common surprise. A roller shade’s fabric is narrower than the shade itself, because room is left for the tube end, the brackets and the control. On an inside mount, that leaves a light gap of about ¾″ on each side. It is normal and not a defect. If you want less light at the edges, choose outside mount, or add side channels on Soluna.
| Product | Inside-mount deduction | What you’ll see |
|---|
| Basic Roller & Soluna Roller | About ¼″ off the width, plus a narrower fabric | About ¾″ light gap each side |
| Portrait Cellular | ¼″ off the width | Thin gap at each side |
| Faux Wood & Real Wood | ⅜″ off the width | Small gap at each side; light between slats |
| Aluminum Blinds | ⅜″ off the width | Small gap at each side; light between slats |
| Vertical Blinds | ⅜″ off the width, 3/16″ off the height | Small gap at the sides and bottom |
| PerfectSheer | ⅜″ off the width | Thin gap at each side |
| Roman Shades | ¼″–⅜″ off the width | Thin gap at each side |
| Woven Wood | ¼″ off the width, ½″ off the height | Gap at the sides; texture lets some light through |
| Zebra, Banded & Dual Sheer | ¼″ off the width | Gap at each side, similar to a roller |
| Shutters | Taken by the factory for a proper fit | Built to the frame — we recommend we measure |
| SmartDrape & Exterior Roller | None — outside mount / built to the exact size you enter | Include any clearance you need in your size |
Not sure which product fits your window?
Send a photo and Justin will point you to the right one.